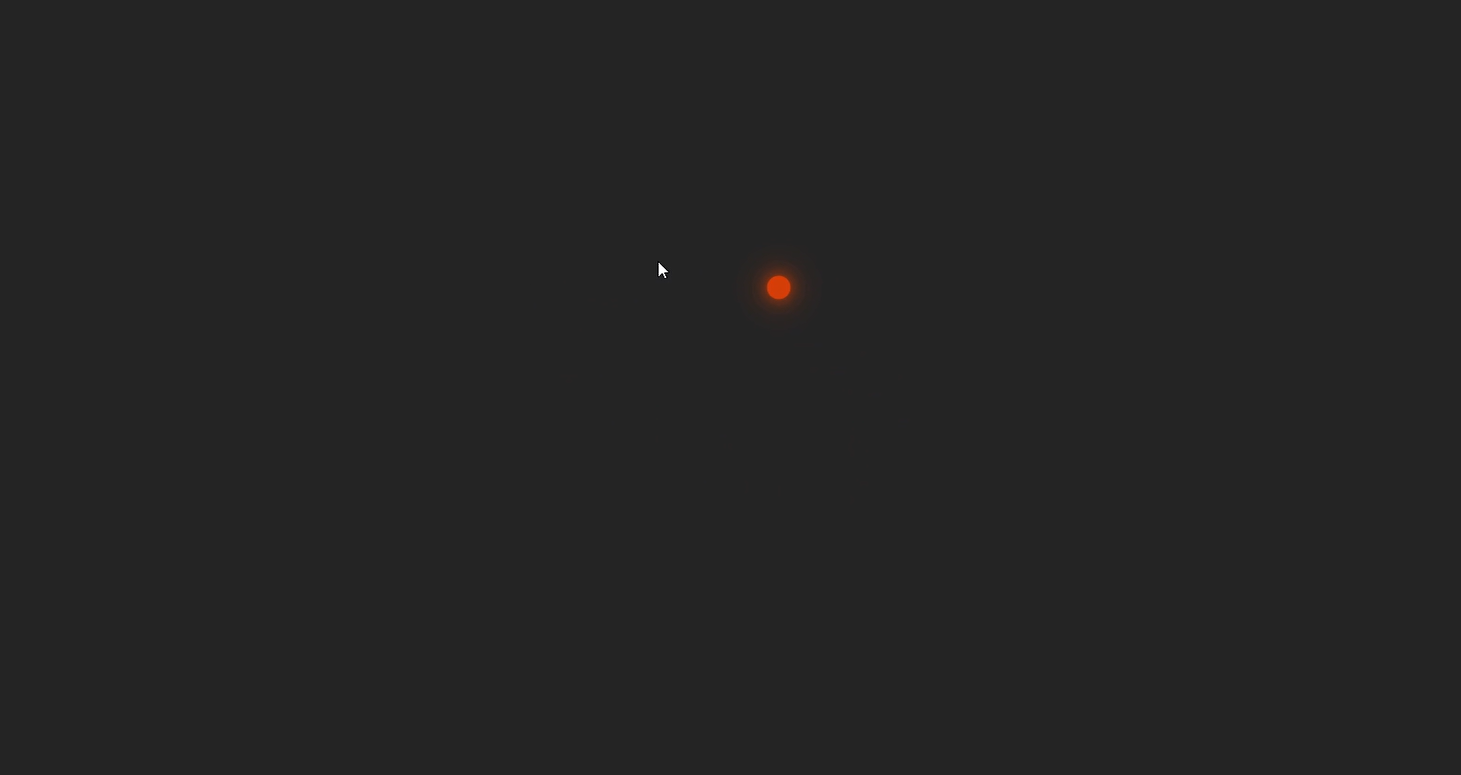
In this blog post, we’ll explore how to create a custom trailing cursor effect using React. This effect not only enhances user interaction but also adds a unique visual element to your application. Let’s dive into the code!
What You’ll Learn
- How to track mouse movements in React.
- How to create a trailing cursor using CSS and JavaScript.
- Best practices for performance optimization in animations.
Prerequisites
Before we get started, ensure you have a basic understanding of React and CSS. You should also have a React environment set up. If you don’t have one yet, you can create a new React app using Create React App:
npx create-react-app trailing-cursor
cd trailing-cursor
Step-by-Step Implementation
1. Setting Up the React Component
Create a new component called App.js. This is where we’ll implement our trailing cursor logic. Here’s the complete code:
import './App.css'
import { useEffect } from 'react'

function App() {
  useEffect(() => {
    const cursor = document.querySelector('.trailing-cursor');
    let mouseX = 0, mouseY = 0;
    let posX = 0, posY = 0;

    const handleMouseMove = (e) => {
      mouseX = e.pageX;
      mouseY = e.pageY;
    };

    const updatePosition = () => {
      posX += (mouseX - posX) * 0.1;
      posY += (mouseY - posY) * 0.1;
      cursor.style.left = `${posX}px`;
      cursor.style.top = `${posY}px`;
      requestAnimationFrame(updatePosition);
    };

    document.addEventListener('mousemove', handleMouseMove);
    updatePosition();

    return () => {
      document.removeEventListener('mousemove', handleMouseMove);
    };
  }, []);

  return (
    <>
      <div className="trailing-cursor"></div>
    </>
  )
}

export default App
2. Styling the Cursor
Now, let’s add some CSS to style our custom cursor. Create a file named App.css and add the following styles:
.trailing-cursor {
  width: 20px;
  height: 20px;
  background-color: rgba(255, 69, 0, 0.8);
  border-radius: 50%;
  position: absolute;
  pointer-events: none;
  transform: translate(-50%, -50%);
  box-shadow: 0 0 10px rgba(255, 69, 0, 0.5), 0 0 20px rgba(255, 69, 0, 0.5), 0 0 30px rgba(255, 69, 0, 0.5);
  transition: transform 0.1s ease-out;
}
3. How It Works
- Mouse Tracking: The
handleMouseMovefunction updates themouseXandmouseYvariables based on the current mouse position. - Smooth Animation: The
updatePositionfunction gradually moves the cursor towards the mouse position using linear interpolation. This creates a smooth trailing effect. - Cleanup: The event listener for mouse movements is removed when the component unmounts, which is essential for preventing memory leaks.
4. Testing the Cursor
Run your React app:
npm startOpen your browser and you should see the trailing cursor effect in action as you move your mouse around the screen.
Conclusion
Congratulations! You have successfully created a custom trailing cursor in React. This effect not only improves the interactivity of your application but also showcases your ability to implement custom animations. Feel free to modify the cursor’s size, color, and shadow effects to fit your design needs.
With this knowledge, you’re well on your way to enhancing user interfaces in your React applications. Happy coding!


